Homeowners must understand that they must promptly replace a toilet flush valve or prepare for a major inconvenience in the home. A toilet flush valve can result in flooding and even water leaks. Replacing a toilet valve is a simple task. It can be a straightforward DIY task you can handle without professional help. This article provides practical steps to replace a flush toilet valve in Singapore efficiently.
How to Replace a Toilet Flush Valve
Replacing a toilet flush valve is easy with the right tools and materials. LS Plumber Singapore provides a step-by-step guide for replacing toilet flush valves in Singapore. They have decades of experience in services like tap leak repair, toilet bowl leaks, , and toilet flush installation. Before going through the process, let’s check the required tools and materials list.
Tools and Materials Needed
Before you begin the process, gather the following tools and materials:
- Adjustable wrench
- Screwdriver
- Bucket or container
- Sponge or towel
- New flush valve kit
- Rubber gloves
Step 1: Turn Off the Water Supply
The first step in all plumbing taps is to turn off the water supply in the affected area. Identify the valve that controls the water flow to the toilet and turn it off. If there is no dedicated valve, shut the main water supply valve off. When there is no influx of water, empty the tank and flush off the residual water. You can use a sponge to soak up all the residual water in the tank.

Step 2: Remove the Tank Lid
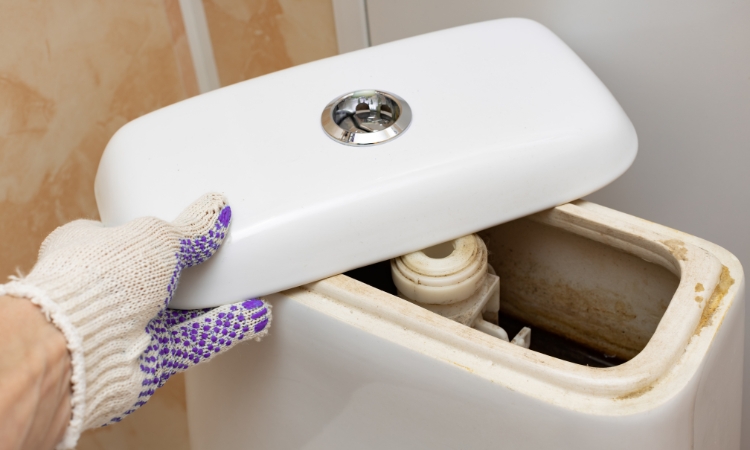
Carefully remove the lid from the toilet tank and place it safely. Be cautious when handling the lid, as it is fragile and can break.
Step 3: Disconnect the Water Supply Line
Find the water supply line connected to the bottom of the toilet tank. Use a wrench to loosen the nut that connects the supply line to the fill valve. Once you loosen the nuts, disconnect the supply line and keep a bucket or container underneath to collect any residual water.
Step 4: Remove the Old Flush Valve
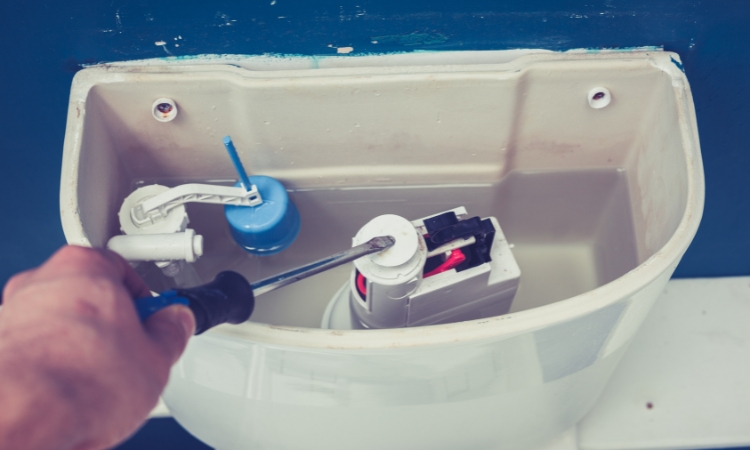
Remove the old flush valve and disconnect the tank from the toilet bowl. You need to remove the bolts that connect the tank to the bowl. Usually, two or three bolts are positioned at the bottom of the tank. Use a screwdriver to hold the bolt heads inside the tank and loosen the nuts underneath using an adjustable wrench. When you remove the nuts, and the tank is free to move, carefully lift it off the bowl and place it on a flat surface.
Next, remove the large nut that holds the flush valve in place. This nut is located at the bottom of the tank and usually near the flush valve. Use an adjustable wrench to remove the nut. Once the nut is removed, you can remove the old flush valve from the tank.
Step 5: Install the New Flush Valve
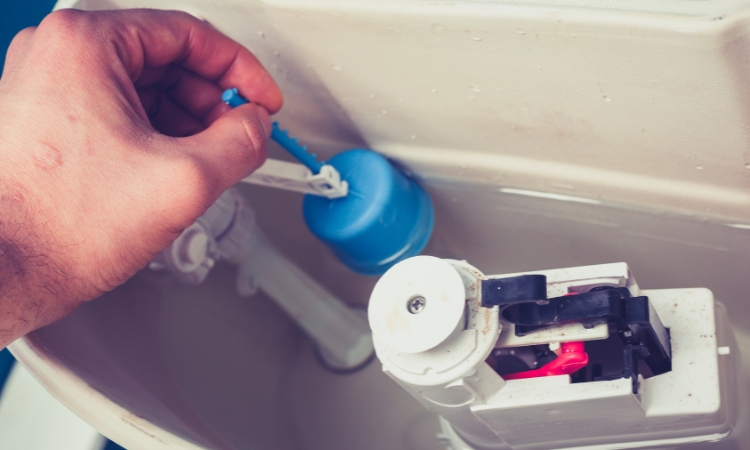
It’s time for a flush valve replacement. Take the new flush valve from the kit and put it into the slot at the bottom of the tank. Ensure that the valve is aligned correctly. Place the flush valve and tighten the large nut you removed earlier. Be careful not to overtighten, as this could damage the valve or the tank.
Step 6: Reattach the Tank to the Bowl
Carefully lift the tank and position it into the toilet bowl. Align the holes in the tank with the holes in the bowl. Insert bolts through the holes and tighten them with nuts underneath. Use a screwdriver and adjustable wrench to tighten the bolts. This ensures that the tank is firmly attached to the bowl. Be careful not to overtighten, as this could damage the porcelain.
Step 7: Reconnect the Water Supply Line
Connect the water supply line to the fill valve at the bottom of the tank. Use an adjustable wrench to tighten the nut. This ensures a secure and watertight connection. Once you connect the supply line, turn the shut-off valve counterclockwise to restore the water supply to the toilet.

Step 8: Test the New Flush Valve
When the water supply is restored, let the tank fill with water. Test the new flush valve once the tank is full by flushing the toilet. Check for leaks around the tank’s base and the water supply connection. If you find any leaks, tighten the connections as needed. Ensure that the flush valve operates smoothly.
Step 9: Replace the Tank Lid
This was the process to replace a toilet flush valve, and its now time to validate the results. Ensure the new flush valve is working properly and there are no leaks. Then, replace the tank lid. Carefully place the lid on top of the tank and ensure it is securely positioned.
Conclusion
It might seem tiring to replace a toilet flush valve, but it can be straightforward with the right tools and knowledge. Keep the tools at hand and bring a new valve of the same size to replace the old one. Follow the step-by-step process to complete the process most effectively. This is a simple process, and homeowners are encouraged to adopt a DIY approach to complete it.
