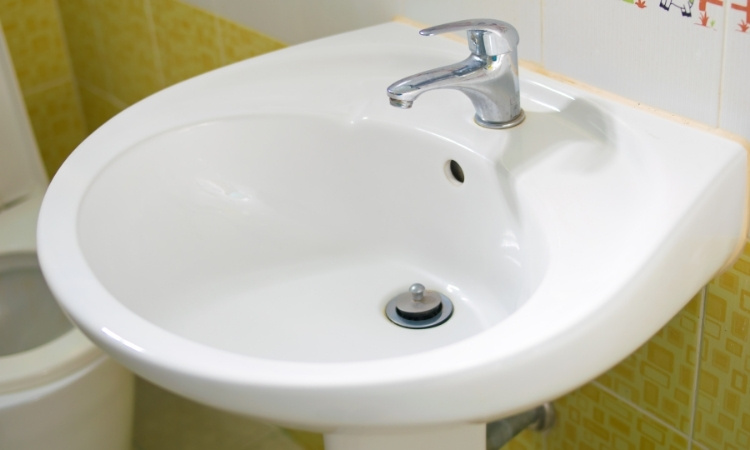
From washbasins to washstands, a sink is one of the most frequently used parts of the bathroom and kitchen; thus, knowing how to replace a bathroom sink is essential. Since sinks are among the most commonly used parts of the bathroom, they can be damaged frequently. A broken sink reduces the functionality of the whole bathroom and its aesthetic value.
Thus, knowing the correct method of bathroom sink replacement is important to keeping your bathroom functional and aesthetic. Although many people find the replacement difficult, the process can be quite easy with the right tools and a good approach. In this guide, we will discuss the replacement process in complete detail so that you know everything you need to do to get a functional bathroom sink.
Materials Needed
You are going to need some basic plumbing tools to replace a bathroom sink, such as
- Adjustable wrench
- Pipe wrench
- Screwdriver
- Silicone sealant
- Bucket
- Towel or rags
- Replacement sink
- PVC pipe fittings
Most of these tools can be found in your tool shed. However, if you are short on some, you can easily get them from the nearest hardware store. You will have to get the replacement sink from a hardware store, or you can also order one from the manufacturer of the previous sink. Also, note that LS Plumber Singapore offers drain cleaning, clear floor top, and drainage pipe choke services.
How To Replace A Bathroom Sink
Here is the step-by-step guide for replacing a bathroom sink
1. Turn Off The Water Supply
Before you begin the replacement process, you will have to turn off the water supply to the sink by turning the shutoff valves clockwise. If there are no shutoff valves under the sink, you will have to turn off the main water supply to the house to prevent any spillage during the replacement process.
2. Drain The Pipes And Disconnect Them
After turning off the water supply, open the faucet in the skin and remove any water remaining in the pipes. With an adjustable wrench, remove the water supply lines connected to the faucet. During this step, you must remove the P trap from under the sink by unscrewing the slip nuts and holding them in place.
3. Remove The Old Sink
Once the old sink has been disconnected from the water supply pipes, you can remove it to replace it with a new one. To remove a bathroom sink, you can follow one of two approaches. For top-mounted sinks, you will have to chip away the sealant, holding the sink in place with a utility knife. For bottom-mounted sinks, you will have to unscrew the brackets holding the unit in place. Once you have disconnected the sink, carefully lift it and set it aside.
4. Prepare The Area For A New Sink
Clean the area and remove any caulk or other debris. Measure the new sink to ensure it can easily fit the pre-existing opening in the bathroom.
5. Install The New Sink
Once the area is clear of any debris, you can install the new sink. Depending on the type of sink assembly, you can follow these two steps.
· For Top-Mounted Sinks
To install a top-mounted sink, apply a layer of silicone sealant or plumber’s putty around the edge of the opening. Place the sink in the opening and press it firmly on the surface to make a good seal with the opening’s surface.
· For Under-Mounted Sinks
For under-mounted sinks, you will have to use brackets and screws to hold the sink in place. Put the sink in place and secure it with brackets. You can also apply a layer of silicone sealant around the edges of the sink to ensure a watertight seal.
6. Reconnect The Plumbing
Once the sink has been properly fixed in its place, you can reinstall the plumbing system to ensure a functional water supply. Connect the P-trap to the sink drain and attach the plumbing pipes to the P-trap. Ensure that all the pipes are properly connected to prevent any water leakage.
7. Test For Leaks
Turn on the water supply to the sink and check for leaks from the faucet or the connecting pipes. If you find leaks, you can tighten the fittings and check again.
8. Finish Up
Once the whole process is complete, you can clean the area of any excess putty with a damp cloth. You should also let the sealant cure according to the manufacturer’s instructions to ensure a proper watertight seal.
Conclusion
We have discussed the complete process to replace a bathroom sink in Singapore. A new sink can give the whole bathroom an improved look and functionality. The replacement process can be a DIY project if you have the right tools and a patient approach.
But if you run into any hiccups during the installation process, you can take the services of professionals specializing in replacing a bathroom sink Singapore. For a small fee, these professionals will replace the sink in no time and fix any other plumbing issues you might have.
