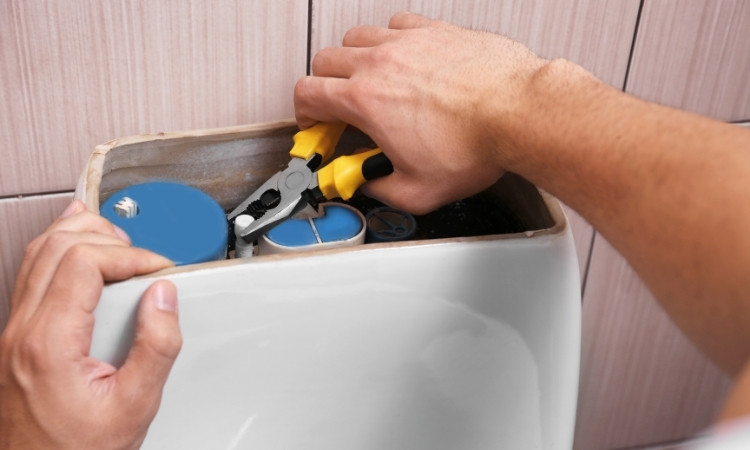
A leaky toilet flush valve can be quite a serious problem for many people, especially those who don’t know the correct ways to repair a leaky toilet flush valve. A leaky valve can be a major source of water wastage, causing significant energy expenditure. As the water keeps leaking, its level in the toilet tank keeps falling, and less water comes out when the user comes to flush the toilet.
Luckily, this problem can be fixed with a DIY approach and requires no professional plumbers. This guide will discuss the complete process to go about this DIY project. We will discuss the tools and materials needed for the job and the signs of water leakage from the flush valve that should raise your suspicion. Also, note that LS Plumber Singapore offers drain cleaning, clear floor top, and drainage pipe choke services.
Signs Of Toilet Flush Valve leak
Some important signs that should alert you to a leaky toilet flush valve include
1. Constant Running Water
When the toilet flush valve leaks, there is a constant sound of water from the tank. You can also see the water coming into the bowl without having flushed the tank. Both scenarios should alert you since there might be a problem with the toilet flush valve.
2. Low water Valve In The Tank
If you notice that the water level in the tank falls below the usual line without flushing, there might be a leak in the flush valve. A constant low water level in the tank without use also indicates the same problem.
3. Higher Water Bills
A leaky flush valve allows a constant stream of water from the tank into the bowl. This water loss leads to higher water bills as all the extra water is lost due to the leak without being used. Thus, if you notice higher water bills without any obvious extra usage, you might be dealing with a valve leak.
4. Visible Wear And Tear On The Flush Valve
If you notice any wear and tear while inspecting the flush valve, the valve might be too old and shabby to contain the water inside the tank. Any issues with the fapper or valve seal will also lead to the same problem and can cause water leaks.
How To Repair A leaky Toilet Flush Valve
Here is the step-by-step guide to repair a leaky toilet flush valve
1. Turn Off The Water Supply
Before you begin the repair process, you must turn off the toilet’s water supply. For this purpose, you will have to rotate the supply valve below the toilet clockwise. Once the supply is off, flush the toilet to remove any standing water. You can also use a sponge or a dry cloth to remove residual water in the tank.
2. Assess The Damage
Open the toilet tank and examine the flush valve, usually a flapper or canister-style valve. Assess the valve for any signs of damage or wear and tear. Inspect the flapper and the seals to get a good idea of the exact extent of damage you will be dealing with.
3. Remove The Old Flapper
Disconnect the flapper to the flush handle by removing the chain between them. If the tank has a flapper-style valve, remove it by removing the two pegs on the side present at the base of the overflow tube. If the valve is canister style, follow the manufacturer’s instructions to remove it properly and set it aside.
4. Insta New Flappers Or Flush Valve
The next process to repair toilet flush valve leak is to install new flappers. If the tank has a flapper, attach a new flapper to the side pegs of the overflow tube and connect it to the flush handle by the chain. You must follow the manufacturer’s instructions for canister-style valves to install the new valve properly.
5. Check The Overflow Tube And Reconnect the Water Supply
Once the new valves have been installed, you should check the overflow tube to ensure that it is intact and has no cracks or breaks. Once you have checked the overflow tube, you can reconnect the water supply to the tank by turning the supply valve counterclockwise. Let the tank fill with water and inspect the flush valve for any signs of a leak.
6. Test The Flush Valve And Close The Toilet Tank
In the end, test the flush valve to ensure it works fine. Make sure that the water flow into the bowl stops after the flush. If it persists, you must look at the flush valve again. If there is no water flow, the process to fix a leaky toilet flush valve has succeeded, and you can continue using the toilet.
Conclusion
We have discussed the complete process to repair a leaky toilet flush valve in detail. The whole repair process is easy and does not need extra effort or special expertise. You will need some plumbing tools and some replacement pieces for the valve.
The repair process will only take a few minutes with the right approach. However, if you are not confident in your expertise, you can also help professional plumbers do the repair job for you.
