It is a good idea to install a urinal bowl in Singapore’s homes. It is useful for families with many male members. This addition can make life more convenient. You can complete this task with the right tools and a clear plan. This guide explains the process in simple steps to help you succeed.
Urinal Bowl Installation Singapore
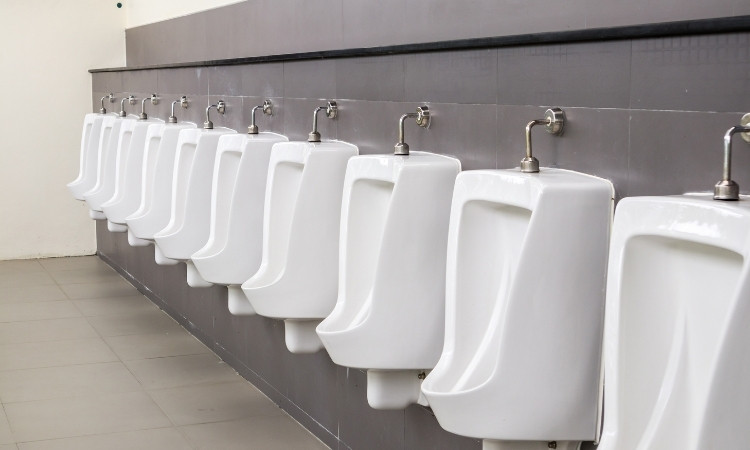
Installing a urinal bowl in Singapore is a popular idea in homes with more male family members. It is a straightforward task to install a new urinal bowl in Singapore. LS Plumber Services Singapore explains the complete process to install a urinal bowl in Singapore in addition to their toilet bowl leak, wash basin, and bathroom flood repair and installation services.
Tools and Materials Needed
Before starting, make sure you have all the necessary items. This will save time and make the work easier. Here is what you will need:
- Urinal bowl with hardware
- PVC pipes and fittings
- Silicone sealant
- Drill with drill bits
- Pipe wrench
- Level
- Measuring tape
- Teflon tape
- Bucket
- Screwdriver
How to Install a Urinal Bowl in Singapore?
Step 1: Pick the Spot
Choose a good spot for the urinal. Pick a wall that connects to a water line and drainage system. Ensure there is enough space for people to use it comfortably. Check that the area is easy to clean. Place the urinal at a suitable height. For adults, this is about 24 to 36 inches from the floor.
Step 2: Turn Off Water
Turn off the water supply before you start. This step prevents leaks during installation. It is always better to work in a dry environment. If you skip this step, it can create unnecessary problems.
Step 3: Mark the Holes
Use a measuring tape and a level to mark the spots for the screws. Read the guide that comes with the urinal. Make sure the marks are straight. Accurate markings will help the urinal stay in place after installation. Moreover, verify the measurements to avoid mistakes.
Step 4: Drill Holes and install Brackets
Drill holes at the marked spots. Use the correct drill bit for your wall type. Insert wall plugs if needed to make the screws hold better. Secure the brackets with screws. Tighten them well so they can support the weight of the urinal.
Check that the brackets are straight and secure. Strong brackets ensure the urinal remains in good condition for several years.
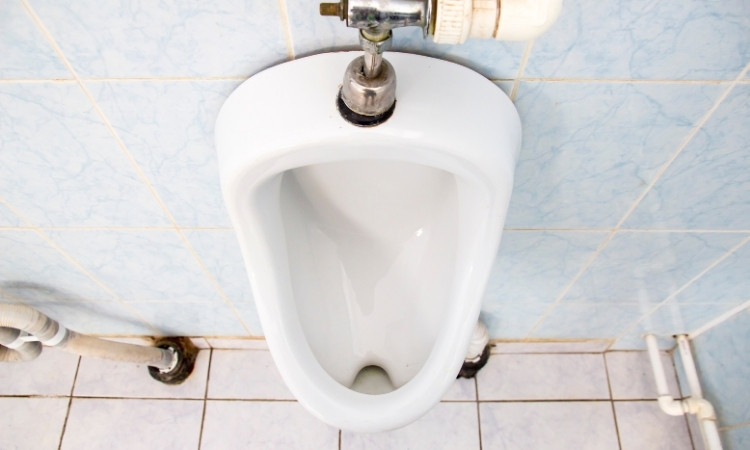
Step 5: Connect Water Line
Find the water inlet on the urinal. Use PVC pipes to connect it to the water supply. Wrap Teflon tape around the threads to prevent leaks. Tighten the fittings with a wrench.
Make sure the connection is firm but not overly tight. A proper connection helps the urinal function without many problems.
Step 6: Fix the Urinal
Place the urinal on the brackets. Follow the manual to adjust and install it. Check if it is stable and aligned properly. If it wobbles, adjust the brackets and screws. It is key to ensure stability for a successful installation.
Step 7: Connect the Drain
Attach the urinal outlet to the drainage system using PVC pipes. Seal all joints with silicone to stop leaks. Position a bucket under the pipes to catch the water. A well-connected drain prevents unpleasant odors and ensures hygiene.
Step 8: Check for Leaks
Turn the water supply on. Test the urinal by flushing it. Moreover, check for leaks around the water line and drain. Tighten the loose fittings if you see drips. Fixing leaks now will save trouble later. A leak-free setup is essential for long-term use.
Step 9: Adjust and Secure
Ensure the urinal is secure and in the correct position. Remove any extra sealant around the joints. Check that everything is aligned properly. Test the flush again to confirm the setup is working. These final adjustments make sure the urinal looks good and works well.
Step 10: Final Touches
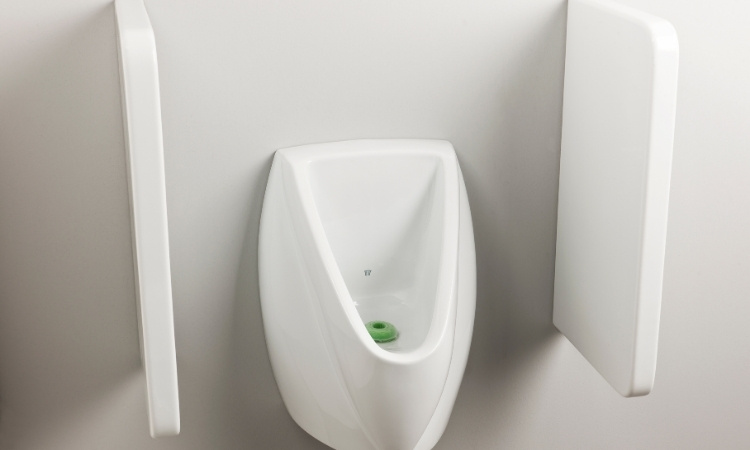
Add useful items like a splash guard if needed. Clean the work area to remove dust and debris. Wipe the urinal to make it look neat. Do the finishing touches to make the installation complete and pleasant to use.
Conclusion
If you install a urinal bowl at your home, it can significantly improve convenience and hygiene. By following these steps, you can do the job with confidence. Take your time to complete each step carefully.
A well-installed urinal adds value to your home. With regular maintenance, it will remain a useful feature for many years. This project is simple and rewarding for any homeowner.