Install a toilet flush in your bathroom with the help of this simple guide. Proper toilet flush is important for maintaining a clean and efficient bathroom. Over time, the functionality of the flush may decrease, or it can wear and tear. Thus, the need arises to replace it every once in a while. Knowing your war around this process can be very helpful, saving you from much hassle during the toilet flush installation.
Today, we will discuss the complete process of installing a toilet flush. Gather your tools, and let’s build an aesthetic and functioning toilet flush. Also, LS Plumber Singapore has decades of experience in services like tap leak repair, toilet bowl leaks, and toilet flush tank leakage.
How to Install a Toilet Flush – Step-By-Step Guide
Here is the step-by-step guide to install a toilet flush in your bathroom
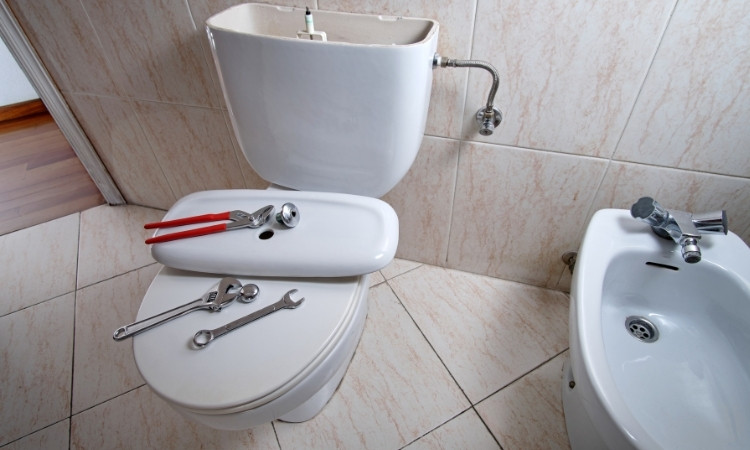
1. Gather Your Materials
You will need some basic plumbing tools to replace sliding toilet doors. Here are some of the most important materials you are going to need for this purpose
- New flush valve kit
- Adjustable wrench or pliers
- Screwdriver
- Sponge or towel
- Bucket
2. Turn Off the Water Supply
You will have to turn off the water supply to your toilet before heading on with the installation process. Find the shut-off valve by the toilet and turn it clockwise to interrupt the water flow.
Flush the toilet and empty all the water from the tank and bowl. Dab the remaining water out of your bowl with a sponge or towel.
3. Disconnect The Water Supply line.
Once the toilet has been drained, you can disconnect the water supply line from the toilet. Use an adjustable wrench to remove the water supply from the bottom of the pipe.
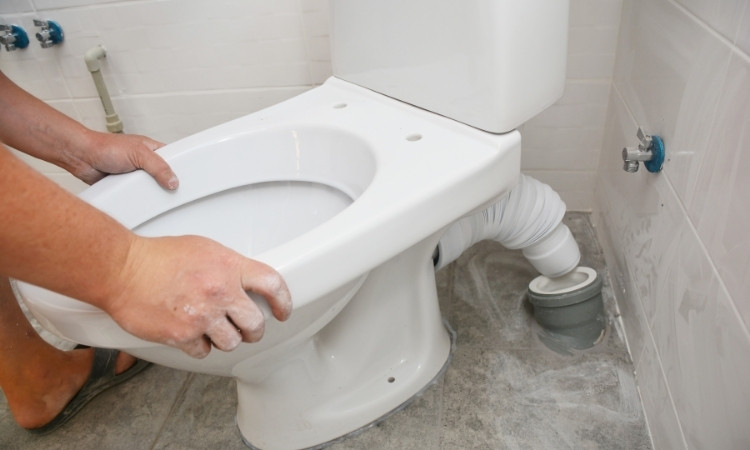
4. Remove The Old Flush Valve
In the next step, remove the nut holding the old flush handle in place. Remove the fill valve and the flapper inside the tank by unscrewing the locknut beneath the tank using a wrench. Once this is done, you can carefully remove the flush valve assembly.
5. Install The New Flush Valve
Place the new flush valve kit into the tank by following the instructions given with the valve. Attach the valve using nuts and screws and make sure that it is properly secured. Once the valve is installed, you can install the flush handle through the hole in the side of the tank and tighten its nut to hold it in place. In the end, attach the flapper to the flush valve and connect the chain to the handle.
6. Reconnect The Water Supply line And Turn On The Water
Using the wrench, reconnect the water supply line to the toilet. Don’t over tighten the connection; it can damage the pipes and cause a leak. Once you have connected the pipes, you can turn on the water supply.
Turn the water supply valve clockwise and let the water fill the tank. Once you have filled the tank, you can test the new valve area or the water connection for leaks.
7. Test The Flush
Flush the toilet to check if the new flush valve is working properly. Adjust the chain length between the flapper and the handle to get a smoother flush.
Additional Tips
- Double-check to see if the flush and fill valves are properly aligned and if there are no leaks.
- If you notice any leaks, you can tighten the connections and see if the washers are seated correctly.
- You can adjust the water level in the tank by adjusting the float on the fill valve.
Conclusion
We have provided you with a detailed guide to install a toilet flush in Singapore. With the right materials and this toilet flush installation guide, the repair job is easy, and you can do it quickly. The whole process only takes a little effort.
However, if you are not confident about doing the job right, you can also get professional help. Many companies like LS Plumber Singapore offer to install a toilet flush in Singapore, and we recommend getting their help for any bigger issues with the replacement process.