If you are a DIY enthusiast and want to install a shower tap, this article is just for you. Installing a shower tap can be a rewarding DIY project that enhances the functionality and aesthetics of your bathroom. Whether upgrading an old tap or installing a new one, this step-by-step guide will walk you through the process, ensuring a successful installation. With the right tools and attention to detail, you can transform your shower experience with a new tap. Let’s dive into the comprehensive guide on how to install a shower tap.
How to Install a Shower Tap?
Shower tap installation in Singapore is a manageable DIY project with the proper knowledge and tricks. Installing a shower tap becomes easy once you follow these simple steps by LS Plumber Singapore.
A Step-by-Step Guide
1. Gather the Necessary Tools and Materials
Before you begin, gather the following tools and materials:
- New shower tap
- Adjustable wrench
- Pipe wrench
- Teflon tape
- Plumber’s tape
- Plumbers putty
- Screwdriver (if needed)
- Rag or towel
2. Turn Off the Water Supply
Locate the main water valve for your home and shut it off to prevent water from flowing to the bathroom.

3. Remove the Old Tap
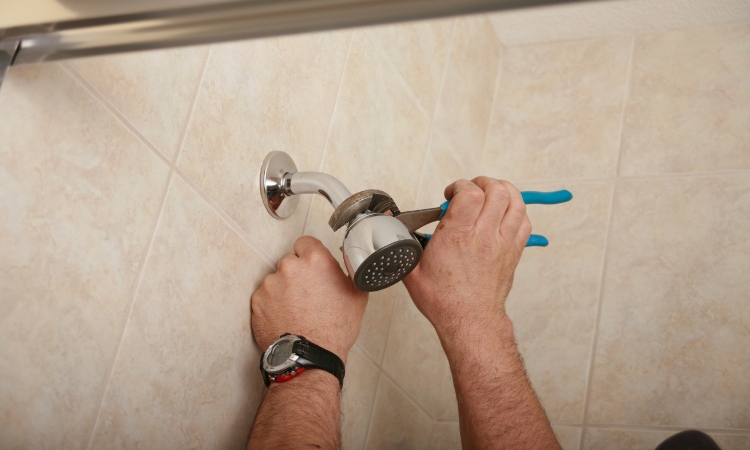
Use an adjustable wrench to loosen and remove the nuts holding the old tap. Once the nuts are removed, carefully pull the old tap away from the wall.
4. Prepare the New Tap
Before installing the new tap, prepare it by wrapping the threads with Teflon tape. This will help create a tight seal and prevent leaks. If the tap requires plumber putty, apply a thin layer around the base where it will make contact with the wall.
5. Install a Shower Tap
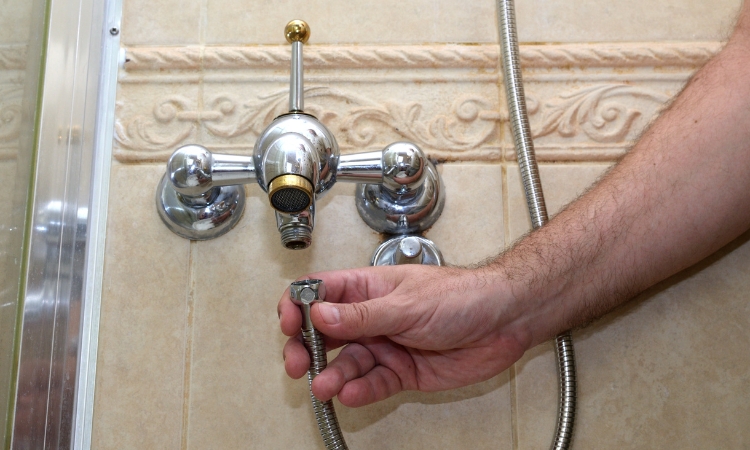
Place the new tap into position on the wall and tighten the nuts onto the threaded ends. Avoid overtightening to prevent damage.
6. Connect the Water Supply
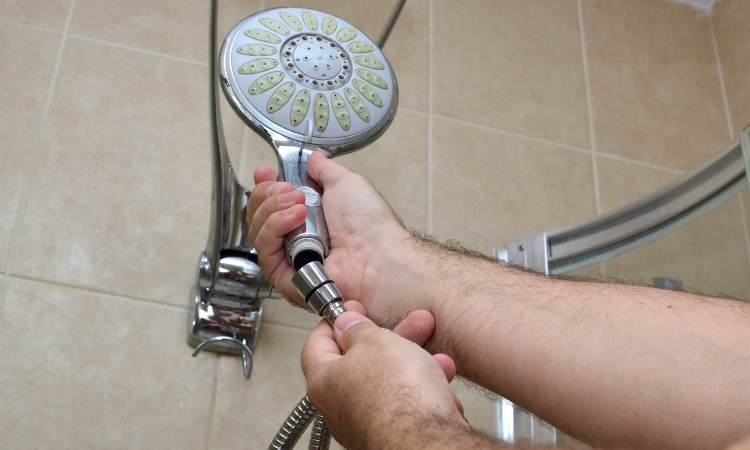
Reconnect the water supply pipes using Teflon tape on the threaded ends. Tighten the connections with an adjustable wrench.
7. Test the Tap
Turn the main water valve back on and test the tap for leaks and proper functionality.
8. Seal and Finish
Seal around the base of the tap with plumber putty or silicone caulk to prevent water damage to the wall.
9. Clean Up
Properly dispose of any old materials and packaging. Wipe down the area around the tap to remove any dust or debris.

10. Final Checks
Verify all connections and seals to ensure security and leak-free operation. Then, test the tap again to confirm proper functionality.
Additional Tips and Considerations
- Consult the manufacturer’s instructions or seek professional help if you need help.
- Use the correct tools to avoid damaging the tap or pipes.
- Regular maintenance and cleaning will prolong the tap’s lifespan.
- Consider installing a water filter or softener for hard water.
Conclusion
It is a manageable DIY task to install a shower tap with the proper guidance. Following this step-by-step guide and taking the necessary precautions, you can upgrade your bathroom and enjoy a fully functional shower tap. Remember to prioritize safety, use quality materials, and seek professional help. With some effort, you can transform your bathroom with a new shower tap that enhances form and function.
