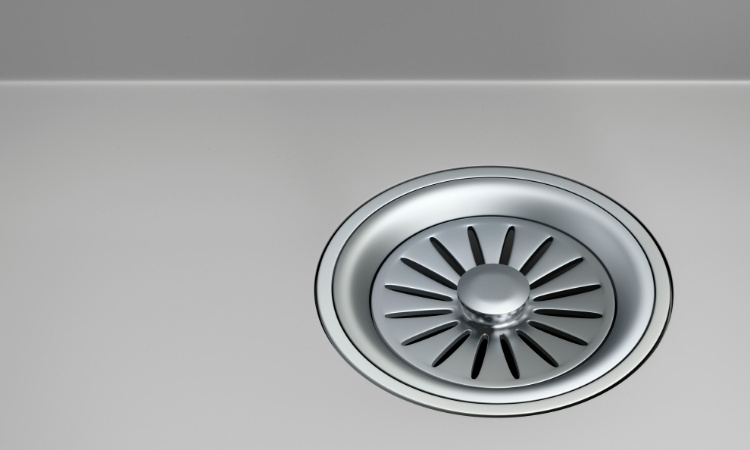
Install a kitchen sink strainer to catch any unnecessary stuff from blocking your kitchen sinks and drains. A sink strainer can be of great use in preventing extra food particles and other kitchen debris from entering the sink and blocking the plumbing system.
Whether you are installing a new strainer or replacing an old one, knowing the replacement process can save you from a lot of trouble. In this guide, we will discuss the complete method for installing a kitchen sink strainer.
Materials Needed For Installing A Kitchen Sink Strainer
Since you are dealing with pipes, you will need some tools to help you. You are going to need the following tools:
- Kitchen sink strainer kit
- Plumbing tape
- Adjustable wrench
- Basin wrench
- Silicone sealant
- Bucket
- New faucet and its washers, nuts, etc.
- Rags or clean cloth
If you don’t have some tools, you can borrow them from your neighbors or buy new ones from your local hardware shop. Also, LS Plumber Singapore has decades of experience in services like kitchen sink repair, kitchen sink tap installation, and instant water heater installation.
How to Install a Kitchen Sink Strainer
Here is the step-by-step guide to install a kitchen sink strainer.
1. Prepare The Sink
The first step in installing a kitchen sink strainer is cleaning the sink and removing any dirt, debris, grime, or moisture from the area of operation. You should also place a bucket under the sink to catch any water leaking from the sink during the installation process.
2. Apply Plumber’s Putty
The next step in the kitchen sink strainer installation is the application of plumber’s putty around the underside of the new strainer. Roll a small amount of putty into a small, thin, rope and apply it at the strainer’s rim. This putty creates a watertight seal and prevents any leakages from under the strainer.
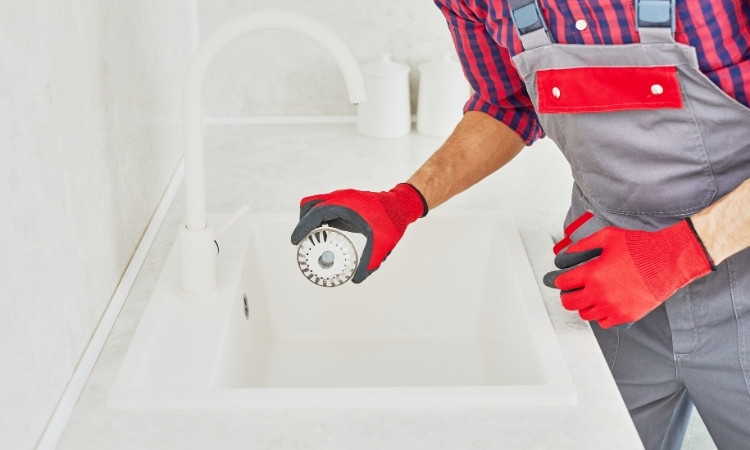
3. Install The Strainer
The next step in the new kitchen installation process is the installation of the strainer into the sink. Install the strainer from the top of the sink and push it deep into the sink drain. Apply firm pressure from the top to allow a snug fit between the strainer and sink. This will help create a watertight seal.
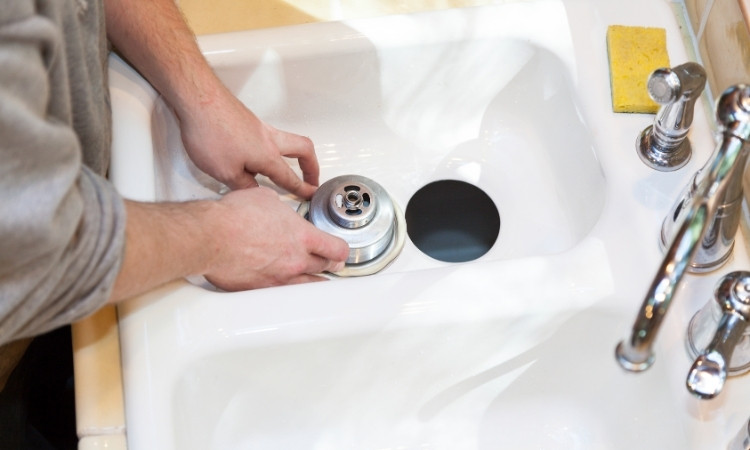
4. Secure The Strainer
Once you have attached the strainer from the top, reach down under the sink and apply the rubber gasket and friction ring to the threaded end of the strainer. Once these two components are on the strainer, use an adjustable wrench to fit a tightening nut to the strainer.
Make sure to make a tight fit between the nut and the strainer, but avoid using excessive force that will damage the strainer and the nut itself.
5. Attach The Drain Pipe
Once all the components are snug around each other, attach the drainpipe to the underside of the sink. Secure the drain pipe into its position by applying plumber’s tape to the threaded end of the drainpipe. This tape will also create a water-tight seal.
6. Tighten All Connections And Check For leaks
Once all the components have been installed, use an adjustable wrench to tighten all connections. But be cautious to not over tighten these screws or you can damage the components.
Once this is done, you can turn the water supply on to check the sink for any signs of leakage. Check the underside of the sink and notice any leaks, especially around the strainer and the drainpipe connection.
Extra Tips
- For installing a kitchen sink strainer in Singapore, you can check local hardware stores like Home-Fix to get quality sink strainers and plumbing tools.
- For added safety, we recommend wearing safety gloves to avoid hurting yourself around sharp edges.
Conclusion
We have discussed the complete process to install a kitchen sink strainer in detail. The whole business is quite simple, and you can do the job quickly with the right materials. However, some traps and basins can be tricky to work around.
For installing a kitchen sink strainer in Singapore in complex sinks, we recommend taking the help of professional plumbing companies.. You can have your sink strainer installed by a professional for a small fee.