Knowing how to fix a dripping shower head is important to bring the bathroom to life again. The shower is an essential functional and aesthetic component of the bathroom. It lets the users melt away their worries with the falling stream. A well-kept shower also completes the bathroom and enhances its aesthetic value.
Thus, whenever a leak happens in the shower head, it can compromise its functionality. A dripping shower head wastes water and spikes water and energy bills. Identifying and fixing the issue promptly is important to prevent such issues. This guide will discuss the complete process of fixing a dripping showerhead. We will also talk about the common causes of such leaks so you can get to and fix the root of the problem.
Common Causes Of Dripping Shower Heads
Here are some of the most common causes of dripping shower heads. if you follow the guidelines by LS Plumber Services Singapore. They also offer kitchen sink, bathroom flood repair, and urinal bowl services in Singapore.
1. Worn Out Washers
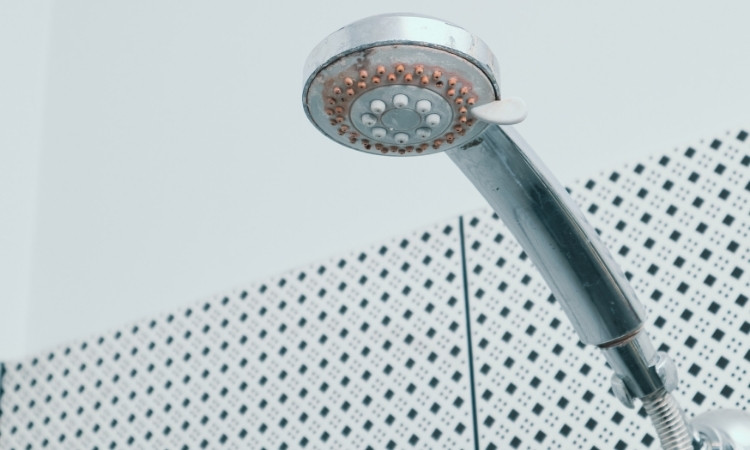
Worn-out and old washers in the shower head are a common cause of leaks. Over time, the washers can break or chip away, reducing the water protective barrier. Water can seep through such breaks and start dripping from the shower head.
2. Faulty Shower Valve
Shower valves control the amount of water flowing through the shower. Whenever damage arises in them, the shower can start dripping. Such leaks become apparent when water dribbles even after shutting the faucet off. The shower valves or cartridges are a prime suspect in such leaks.
3. Loose Connections
Loose or improper connections between the shower head and arm can lead to leaks. Such issues arise due to faulty craftsmanship while installing the shower. Connections can also become loose in old showers after long periods of use.
4. High Water Pressure
Excessive pressure through the shower can force water through small gaps in the head. High pressure can lead to continuous dripping or even streams of water leakage from the shower.
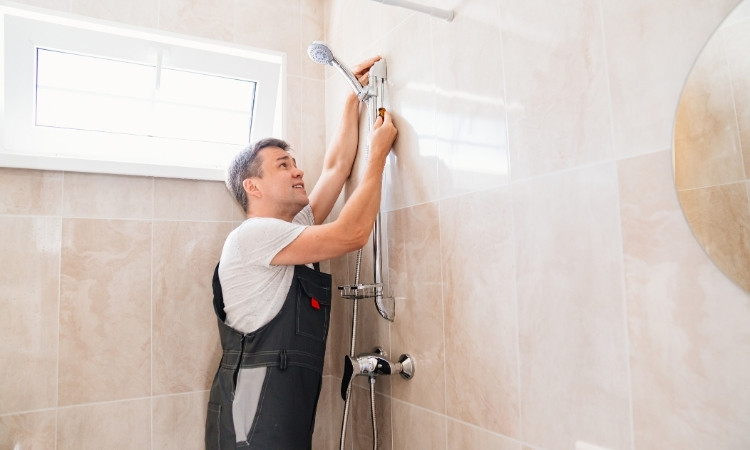
How To Fix A Dripping Shower Head
Once you have identified the issue, you can start the repair process. Here are the steps you should follow to fix a dripping shower head in your house
1. Gather Tools And Materials
The repair process needs some plumbing tools and materials. Some important tools you should have by your side whenever you fix a leaking showerhead include
- Adjustable wrench
- Screwdriver
- Teflon Tape
- Pliers
- Replacement Washer or O-Ring
- New shower Cartridge
2. Turn Off The Water Supply
You can start the repair process once you have gathered the correct tools. The first step you will follow to fix a dripping water shower head is turning off the water supply. Turn off the individual valves supplying water to the shower area. You can also turn off the house’s main water supply to prevent any flooding during the repair process.
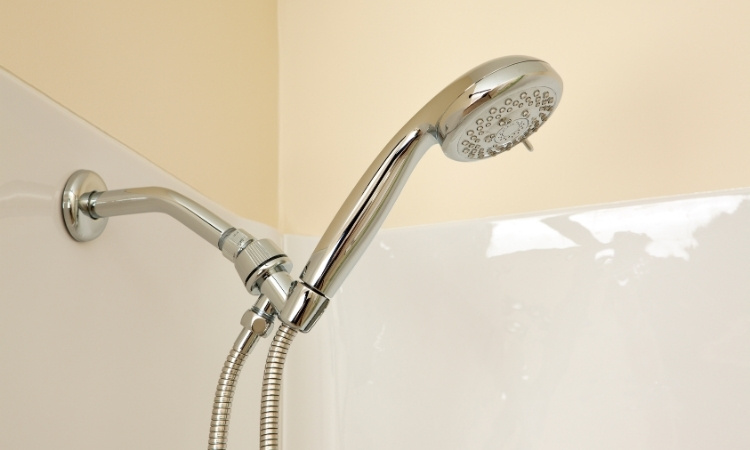
3. Remove The Shower Head
Carefully unscrew the shower head from the arm with an adjustable wrench. Excessive force can put scratch marks on the shower head if the connection is tight. Wrap the head in cloth before unscrewing it with the wrench to prevent this.
4. Inspect And Clean The Shower Head
The next thing you will do to repair a dripping shower head is shower head cleanup. Cleanup removes any mineral or sediment buildup and reduces leaks. Prepare a water and vinegar solution and let the shower head soak in it for thirty minutes. The vinegar will loosen any mineral buildup, which you can clean with a toothbrush or small brush.
5. Replace The Washer
You can also replace any old and worn-out washers or O-rings to prevent leaks. Use needle-nose pliers to remove the washer and replace it with a new one. A new washer will create a watertight seal and prevent future leaks.
6. Secure The Shower Arm Connection
Another thing you can try to fix a shower head leak is securing the shower arm connection. Wrap a good amount of Teflon tape around the connection to make a tight seal. The seal will prevent leaks when you reinstall the shower head.
7. Reinstall The Shower Head
Once you finish the repairs, you can reinstall the shower head on the arm. Use an adjustable wrench to create a tight connection. Be careful not to overtighten, as it can damage the shower head and the fittings.
8. Test For leaks
Once you have done the steps listed above, the leaks should stop. Turn the water supply back on to test this, and inspect the shower for any drippings. Turn the shower on and inspect any head and arm connection leakage. If you don’t notice any leaks, the repair process is successful. You can enjoy your showers without worrying about leaks or high water bills.
Conclusion
We have discussed the complete method to fix a dripping shower head in Singapore. Dripping showers are quite common in Singapore due to mineral buildup. However, they are quite easy to fix with a DIY approach. First, remove the shower head and inspect it for obvious breakage or mineral deposits.
Clean the shower head and replace any washers or O-rings with new ones. Tighten the shower head and arm connection to prevent leaks from that area. Lastly, you can also use professional plumbers’ help to fix a leaky shower head in Singapore.