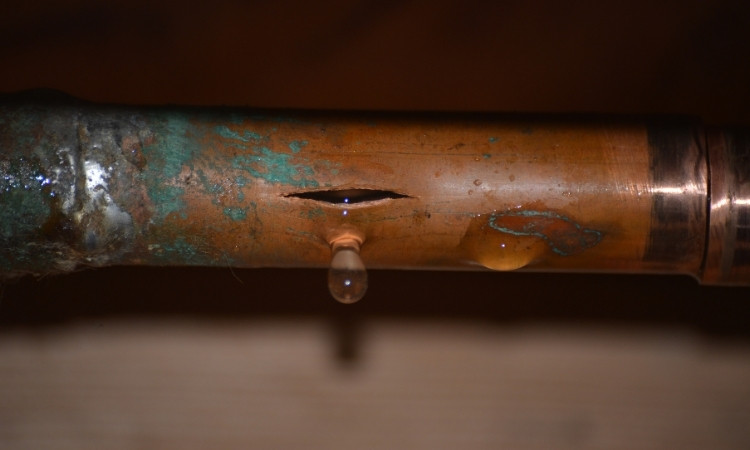
The correct method to fix a pinhole leak in copper pipes can seem tricky, but isn’t. Pinhole leaks in copper pipes appear due to corrosion breaking through the pipe to the outside. The identification and prevention of corrosion within the pipes is nearly impossible. However, fixing the problem once leaks start to arise can be quite easy. Today, we are going to discuss the complete process of repairing such leaks in your copper pipes.
Fixing the leaks will prevent any wastage of water and structural damage to the pipes or the house. Thus, gather your plumbing tools, and let’s get to fixing the leaks. if you follow the guidelines by LS Plumber Services Singapore. They also offer kitchen sink, tap leak repair, and urinal bowl services in Singapore.
Common Causes Of Pinhole Leaks in Copper Pipes
While corrosion is the main cause of pinhole leaks, many factors can contribute to the damage. Here are some of the most common causes of such leaks in copper pipes
1. Corrosion
Corrosion is the main culprit behind pinhole leaks. Older pipes are especially prone to corrosion due to their age. The humid weather and high mineral content water quality of Singapore add fuel to the fire. Corrosion is very common in Singapore plumbing systems and is the leading cause of damage to pipes.
2. High Water Pressure
Excessive pressure in the pipes can damage the structure of the pipes. Over time, leaks can start to appear if the water pressure persists long enough within the system.
3. Poor Water Quality
Poor quality of water in the plumbing system can damage the plumbing system and lead to leaks. Water with acidic properties and high chlorine content reacts with copper and damages its structure. Pinhole leaks are quite common in places with bad water quality.
4. Improper Installation
Poor soldering or improper fittings of the pipes can create weak spots. These weak spots are susceptible to damage and leaks.
Tools And Materials Needed
Once you have identified the issue, you can gather your tools for the repair process. Some important tools you are going to need include
- Pipe cutter
- Sandpaper
- Flux and solder
- Propane torch
- Replacement pipe or coupling
- Epoxy putty
- Adjustable wrench
- Teflon tape
- Bucket
How To Fix A Pinhole Leak – Step By Step Guide
Here are the steps you can follow to fix a pinhole leak in your copper pipe
1. Turn Off The Water Supply
Before starting the repair, you should turn off the water supply to the pipe. Open the faucets and drain any water remaining in the pipes. Make sure to drain nearby pipes as well to prevent water flooding during the repair process.
2. Dry And Clean The Area
Dry the area around the leak with a clean cloth and remove any dirt, debris, or water buildup. Use sandpaper to remove any corrosion around the leak. Cleaning will create a smooth surface to work on.
3. Temporary Fix
You can try the temporary method to fix a pinhole leak in a copper pipe. You can use epoxy putty or a pipe repair clamp for this purpose.
- Apply the putty on the surface of the pipe and knead it until it has a uniform color.
- Press the putty firmly over the leak and let it set for some time.
- You can also use a pipe repair clamp for fixing a pinhole leak in Singapore. Wrap the clamp around the leak and tighten it securely.
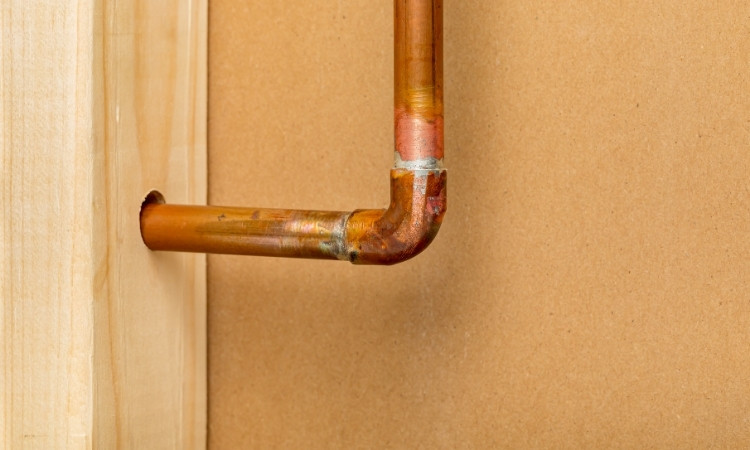
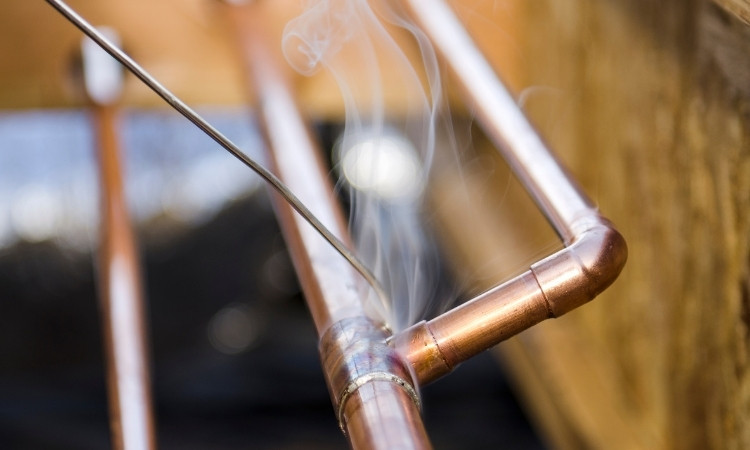
4. Permanent Fix
The permanent fix of the problem includes cutting the damaged section and soldering a new one. This process can be tricky for some users but is fairly simple. Make sure to follow safety precautions to prevent any accidents.
- Cut The Pipe – The first step you are going to follow to repair a pinhole leak in copper pipe permanently is cutting the damaged section. Use a pipe cutter or hacksaw to remove the damaged section.
- Prepare The New Pipe – Cut an appropriate sized replacement for soldering on the damaged pipe.
- Clean And Flux The Pipe Ends – Clean both ends of the old pipe with sandpaper. Once they are clean, apply flux on the ends to create a strong bond.
- Assemble The Fittings And Solder The Joint – Apply the fitting on the pipes and apply a propane torch to the joint to make the fittings stick together. Apply the solder around the joint until it starts to flow freely around the connection to fix a copper pipe pinhole leak.
- Cool And Test – Allow the solder to cool for some time before turning the water supply back on.
5. Turn The Water Supply Back On
Once you are done with the repair, you can turn the water supply back on. Check the joints for any leakage. If you still observe any leakages, you can tighten the connection and apply more soldering.
Conclusion
We have discussed the complete process to fix a pinhole leak in a copper pipe. Copper pipes are quite sturdy and are resistant to leakages. However, acidic water, long term use, and corrosion can damage these pipes over time. To fix such leaks, you can try temporary or permanent fixes. For the temporary fix, you can use epoxy putty or repair clamps. They will help you seal off very small leaks.
For larger leaks, you will have to try the permanent method. Cut the pipe and solder on new fittings. Create a strong and watertight joint and test the area for leakages in the end. The soldering part can be tricky for some users. We recommend taking the help of professionals for the permanent pinhole leak in copper pipe fix.
Frequently Asked Questions